Dry hopping is essential for bright hop flavor and aroma in beer styles like IPA and American Pale Ale. Even in Pilsner and Saisons, dry hopping can add a delicious layer of fresh hop aromatics. Dry hopping is a simple process that provides a massive boost of flavor. Follow our guide on how to get the most out of your dry hops.
How do you dry hop beer?
Dry hopping is a basic concept. Add your desired quantity of hops directly to your fermenter of beer, give the hops a few days to infuse their flavor, and then package your homebrew.
Dry hopping is done to add bright and fresh hop aromatics to beer without contributing to bitterness. The process is simple, but there are certain best practices and techniques to make sure you’re extracting the brightest hop profile.
Why dry hop?
Hop flavor and aroma comes mainly from the plant’s alpha acids, beta acids, and mix of other essential oils. During the boil, these volatile compounds are isomerized – a reaction that converts the alpha acids into bitterness. As bitterness is one of the fundamental flavors of beer, this process is essential to brewing nearly every style.
When a brewer desires to keep more of those delicious flavor and aroma compounds in the beer, hops are boiled for less time. The obvious extension to extract maximum flavor and aroma from those hops is to not boil them at all. This is where dry hopping comes in.
Dry hopping techniques
A lot of homebrew literature has outdated information regarding dry hopping. Whether it’s quantity of hops, contact time, temperature – you name it – dry hopping techniques have drastically changed in the last 10 or so years.
With the boom of New England IPA, where ungodly amounts of hops are added during fermentation, typical dry hop rates have risen across all styles. Where a 1 or 2 ounce dry hop used to be standard in a 5 gallon batch, many brewers are adding over a pound of hops to some beers!
When using such big quantities of hops, you need to make sure your process is sound. Hops are expensive and very sensitive to oxidation. Oxygen is hoppy beer’s number 1 enemy – avoid introducing your beer to oxygen as much as possible to eliminate stale, muddy hop flavors.
Best hop format for dry hopping
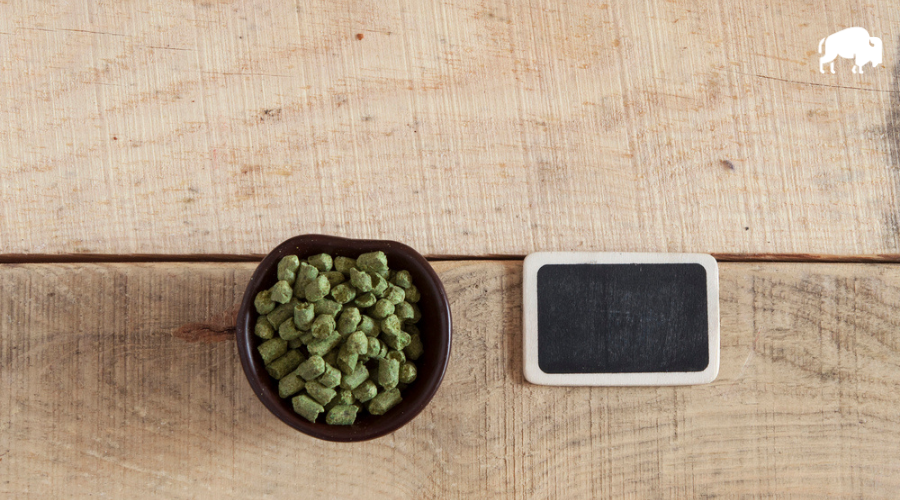
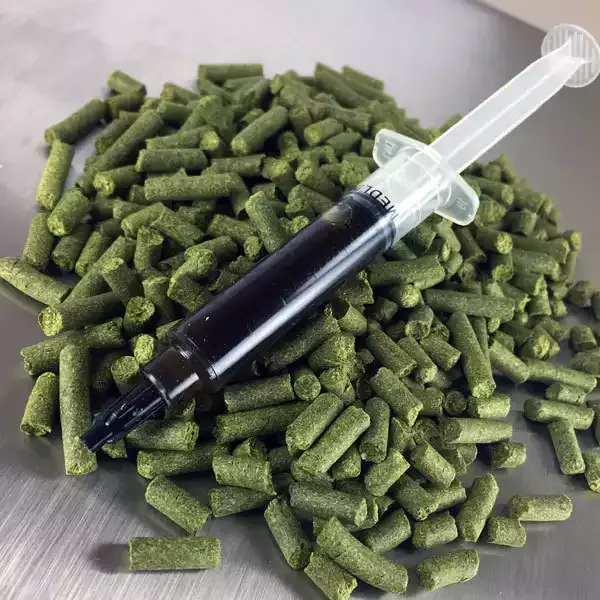
All types of hops can be used when dry hopping. Pellets, whole leaf, even Cryo hops and lupulin powder, all make suitable candidates to infuse those delicious hop oils into beer.
Whatever format you choose, the most important factor is the quality of the hops. The fresher the better. But even 2 or 3 year old hops are fine as long as they’ve been stored properly. Sealed in bags, ideally flushed with nitrogen, and in the freezer is the best way to store hops.
When it comes to dry hopping, the quality of the hops has a massive impact on final flavor. Make sure your hops are pungent, fragrant, and green. No brown spots or cheesy, off-putting odors.
To bag or not to bag?
When you add hops to a fermenter, they’ll slowly absorb the beer and float around. Dry hopping can create a messy situation inside the fermenter, especially when it comes time to transfer the beer for packaging.
Many brewers choose to dry hop in nylon bags, hop socks, or even stainless steel mesh canisters.
The downside with bagging dry hops is the reduction of potential hop oil infusion. Because the hops are constrained to a bag, their ability to mix with the beer is limited. When dry hopping with a big dose, like for NEIPA, hops may become packed in the bag, reducing dry hopping effectiveness.
For the fullest flavor and best use of your (expensive) hops, forgo the bag and dump the hops directly into the beer. This gives the hops plenty of room to float around, infusing the maximum amount of lupulin goodness through the beer. At packaging, to ensure a clean transfer, cold crash the beer for a day to force the dry hops to sink to the bottom of the fermenter.
If cold crashing dry hopped beer, or any beer for that matter, we highly recommend doing so under CO2. As beer cools in a fermenter, a vacuum creates a suction effect. Air, or the airlock liquid, will be sucked into the fermenter, oxidizing the beer. If possible, connect your fermenter to CO2 during the cold crash or use a pressurized fermentation vessel.
When and where to dry hop
There are a few places throughout the fermentation that you can dry hop:
Primary fermenter: For almost all beer styles, dry hopping in the primary fermenter is the most effective and practical solution. You can dry hop at various times through the fermentation and there is minimal risk of oxygen exposure.
Secondary fermenter: We don’t recommend using a secondary fermenter solely for the purpose of dry hopping. Racking the beer between fermenters has a high chance of introducing unwanted oxygen to the beer.
Keg: Dry hopping in the keg is a great idea to infuse bright and saturated hop flavor. Add hops to a hop bag or stainless steel canister before transfering the beer into the keg. To avoid a clogged poppet, consider installing a floating dip tube in your keg to draw beer from the top.
A note on dry hop temperature: The temperature of the fermenter has an impact on the extraction efficiency. Warmer temperatures will more quickly extract hop oils and aromatics. Colder temperatures might take a bit longer. As a rule, we recommend dry hopping at your primary fermentation temperature and give the hops at least 3 or 4 days to infuse their flavor.
The dry hop process
Step 1: Weigh out hops
Using a kitchen scale, weigh the hops you need for your recipe. There’s no need to sanitize the hops or the weighing vessel (assuming it’s clean). Hops are inherently antimicrobial and there’s little risk of infecting beer through dry hopping.
If using a hop sock or stainless canister, make sure it’s sanitized through boiling in water or using a no-rinse sanitizer. Add your hops and seal the bag near the end of the bag, to give the hops the most room to move around.
We’ve included a handy table below as a guide on the quantity of dry hops based on common beer styles.
Step 2: Open fermenter
Open your fermenter and place the lid or stopper on a sanitized surface.
If you can, purge the headspace of the fermenter with CO2. This will limit the risk of the hops sucking in air as they’re added to the beer. Just push in 10-15 seconds worth of CO2 from your tank, set at a low pressure like 2 PSI.
Step 3: Drop in hops
Add the hops to the beer.
Again, if you have the means, it’s highly recommended to purge the headspace of the fermenter with CO2 before resealing. Pushing out as much air as possible from the headspace of the fermenter will reduce the possibility of oxidation.
Step 4: Seal fermenter
Tightly seal the fermenter. No need to shake it or swirl the beer. The hops will soak up the beer and release their oils and flavor compounds just fine on their own.
Step 5: Let dry hops infuse beer with oils, aromatics, and flavors
Allow the dry hops to infuse the beer with all of their amazing aroma and flavor compounds.
See our table below for contact time based on beer style.
Step 6: Package beer
When it comes time to package your beer, cold crash the fermenter for a day if you’re able to prevent oxygen suck-back.
When transferring dry hopped beer to your keg or bottling bucket, it’s imperative to limit any exposure to oxygen to the best of your ability. Closed-transfers from the fermenter to a CO2 purged keg is the best way. This means that the beer is pushed from the fermenter with CO2 into the keg, completely eliminating any contact with oxygen.
If a closed transfer isn’t possible, carefully rack the beer into your keg or bottling bucket, paying very close attention to limit splashing.
If you’ve bagged your dry hops, it’s best to rack the beer from around the hops without removing the bag from the fermenter to avoid agitation.
Dry hopping rules of thumb
Follow our guide for some general rules of thumb when dry hopping. Some of the quantities in our table may seem a little high compared to other homebrew literature. There’s a reason those hyped-up IPAs are expensive – they’re using a pile of hops!
| Beer Style | Dry Hop Rate | Dry Hop Timing | Dry Hop Varieties |
| American Pale Ale | 2-6 oz per 5 gallons | 3-4 days | Cascade, Simcoe, Centennial, Chinook, Mosaic, Citra, Amarillo |
| American IPA | 6-8 oz per 5 gallons | 3-4 days | Same as APA |
| New England IPA (NEIPA) and DIPA | 10-16 oz per 5 gallons | 3-4 days | Galaxy, Mosaic, Citra, Nelson Sauvin, Ella, Idaho-7, Strata, Sabro |
| Double Dry Hopped (DDH) IPA and DIPA | 12-16 oz per 5 gallons | ⅓ at high krausen ⅔ for 3-4 days | Same as NEIPA or APA |
| English Pale Ales | 1-4 oz per 5 gallons | 5-7 days | Fuggles, Northdown, Bramling Cross, East Kent Golding |
| Dry Hopped Pilsner | 1-3 oz per 5 gallons | 5-7 days | Saaz, Hallertauer Mittelfrüh, Tettnanger, Spalt, Sterling, Saphir |
| Belgian Pale Ale (Saison, Tripel, etc.) | 1-3 oz per 5 gallons | 5-7 days | Saaz, Nugget, Styrian Golding, Cascade |
Advanced Hopping Techniques Video Course
If you want to learn how to make killer hoppy beers, check out this Craft Beer & Brewing video course:
Chris Tropeano, founder of Resident Culture Brewing and former brewer at Russian River, covers all of the practical knowledge you need to brew better hoppy beers.
It’s free for the first 30 days giving you access to over 60 homebrewing courses from the best brewers in the business.
Final Thoughts
Dry hopping is an essential technique to brew modern craft beer. Changing tastes of beer drinkers has all but cemented dry hopped character as one of beer’s most important attributes. Not all styles should be dry hopped, but in a hop-loving craft beer market, we’ll continue to see more and more beers packed full of hoppiness.
Dry hopping can be as simple as opening up your fermenter and throwing in some hops. But with keen attention to detail, and the use of only the finest hops, you’ll pack the most expressive flavor and bright aroma into your beer.
Frequently Asked Questions
What is hop creep?
Hop creep is the phenomenon of dry hops causing a beer to continue fermentation after reaching its expected final gravity.
Hop creep causes unwanted fermentation byproducts – namely diacetyl and additional CO2. This can cause off-flavors in packaged beer and over-carbonation.
It’s usually not a big problem at the homebrew level. But if you have the issue, you can easily mitigate it. Give dry hopped beer a few days at warmer temperatures in the fermenter to allow for the diacetyl to clean up and the CO2 to escape before packaging.
Can you dry hop carbonated or pressurized beer?
Dry hopping pressurized beer can cause a very messy beer volcano. Because the beer is carbonated, dry hops introduce nucleation points which cause the CO2 to abruptly come out of solution. This can result in foaming, sometimes aggressively.
Depressurize your fermenter before dry hopping carbonated beer and be sure to have the lid on hand to quickly seal it off. Alternatively, you can use a FermZilla type fermenter with a dedicated dry hop port.