Let’s face it; the beer world is as vast as the universe itself. And just when you think you’ve tasted every star in the galaxy, a supernova blows your taste buds into another dimension.
Enter the New Zealand IPA, the latest addition to the Brewers Association beer-style galaxy. This Kiwi brew has been causing quite a stir in the craft beer scene for a good reason. So, why should you learn to brew this hoppy delight? Simply put, it’s a frothy trip to the land of the long white cloud without leaving your living room.
In this article, we’ll cover everything from the unique characteristics of New Zealand hops to a step-by-step guide on how to brew the perfect NZ IPA.
The Lowdown on New Zealand IPAs
So, you thought you knew everything about IPAs, huh? Let me introduce you to a newcomer on the block who might change your entire brewing game. It’s called the New Zealand IPA, a style that’s as refreshing as a dip in the calm waters of the Tasman Sea.
The Roots of New Zealand IPAs
The New Zealand IPA is a craft beer style as young and vibrant as the hops it showcases. It’s not confined by geographical boundaries, but it’s all about those New Zealand hop varieties that give it a unique character.
You might wonder: “What makes a beer a New Zealand IPA?” It’s like spotting a Kiwi bird in the wild. There are no official rules to follow, but you’ll know one when you see (or taste) it.
The Flavor Profile of a Kiwi IPA
New Zealand IPAs typically offer a moderate to high hop bitterness, layered with flavors and aromas that range from tropical and citrus to floral and, believe it or not, diesel. The malt backbone is usually light to medium, providing a dry finish and a moderate alcohol level that won’t knock you off your bar stool.
Now, let’s talk about the real stars of the show – the New Zealand hops. Here are some of the common ones used in this style and the unique flavors they bring to the table:
- Nelson Sauvin: Think white wine, gooseberry, and grapefruit.
- Moutere: Resinous, pine, grapefruit, and a tropical fruit cocktail.
- Wakatu: A floral bouquet with a lime twist and a spice dash.
- Rakau: A medley of stone fruit, pine, and citrus.
- Motueka: Lemon and lime playing tag with tropical fruit.
How Does a New Zealand IPA Compare to Other IPAs?
If IPAs were siblings, the New Zealand IPA would be the adventurous younger brother. It shares the hop intensity and diversity of American IPAs, but with New Zealand hops taking the spotlight.
It’s also like the English IPA regarding malt balance and yeast character, but it’s less about the biscuit flavors and more about the fruity esters. And, compared to West Coast IPAs, it’s just as clear and dry, but the pine and dank flavors take a backseat to more tropical or citrus flavors.
Notable New Zealand IPAs to Try
Now that you’re practically a New Zealand IPA expert, it’s time to get a tasting! Here are a few local and international brews that have made a splash in the beer scene:
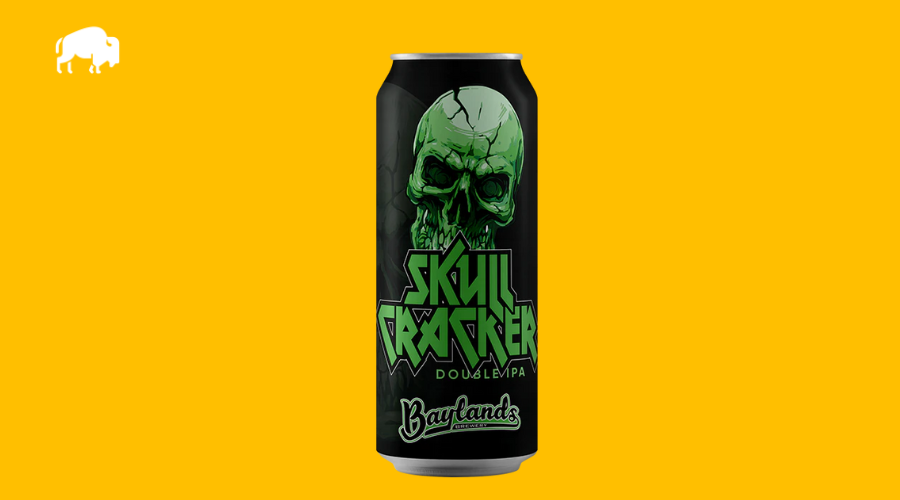
- Baylands Skull Cracker: This double IPA from Baylands Brewery packs a punch with resinous, peach, and nectarine flavors.
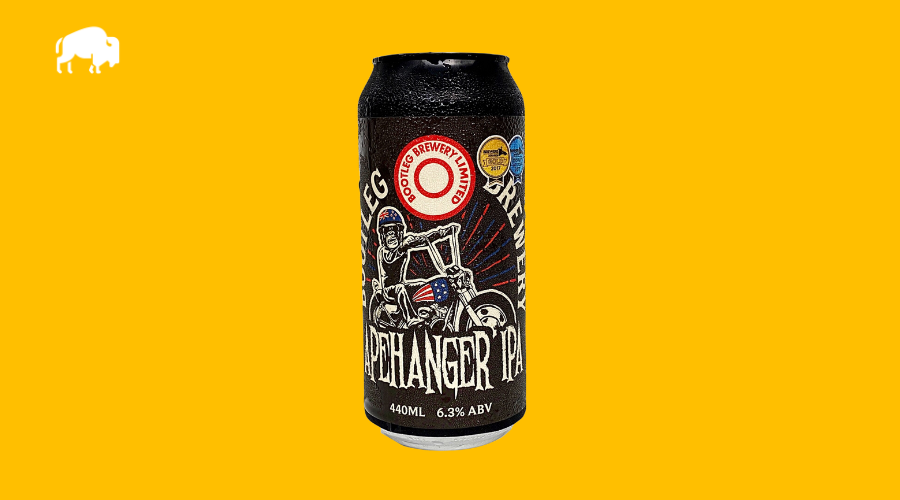
Bootleg Apehanger IPA: A champion IPA from Bootleg Brewery that swings in with tropical and diesel flavors.
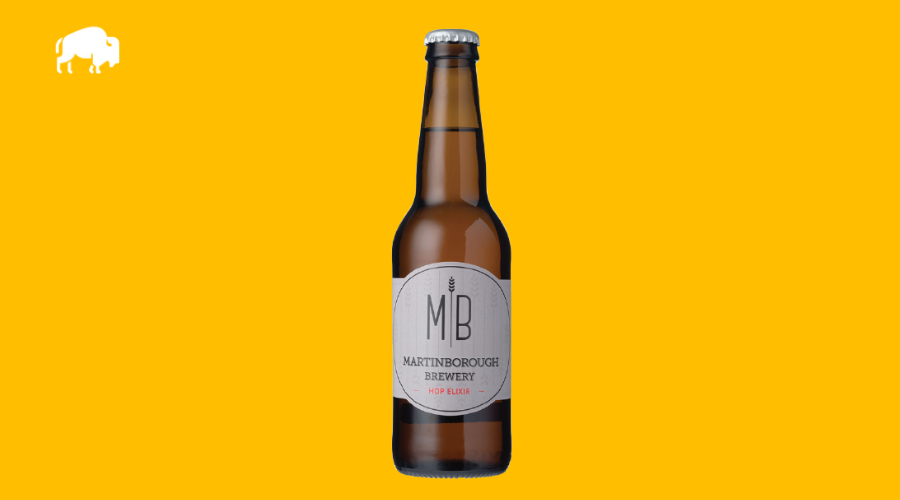
Martinborough Hop Elixir IPA: A balanced IPA from Martinborough Brewery with notes of grapefruit and rockmelon.
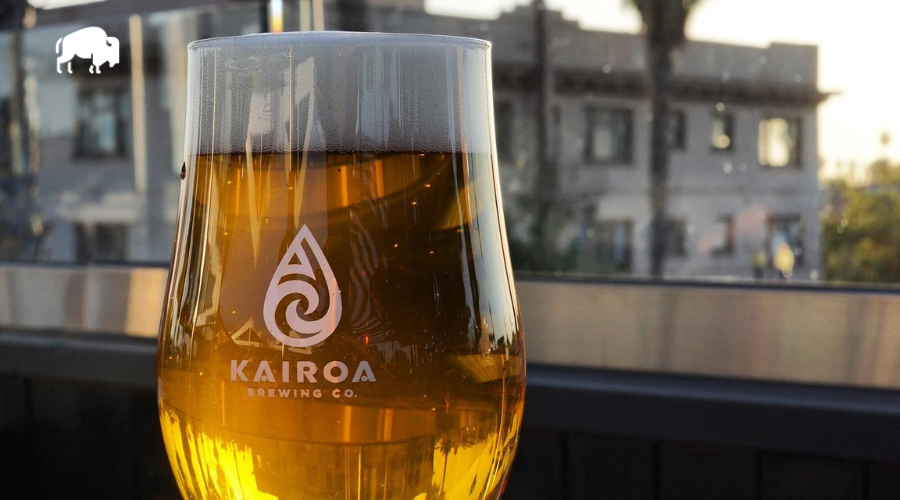
Kairoa Tasman Bay Nelson IPA: An approachable IPA from Kairoa Brewing in San Diego with refreshing lemon and gooseberry flavors.
How To Brew New Zealand IPA
Let’s dive right in and talk about the star of the show in a New Zealand IPA: the hops. Now, I’m not talking about those sad, vacuum-sealed packets of pellets hiding in the back of your freezer. I mean the freshest, most vibrant hops you can find.
For a typical New Zealand IPA, you’ll want to lean towards New Zealand hops like Nelson Sauvin, Motueka, or Riwaka. These hops are known for their bright, tropical fruit flavors and punchy aromas that are as refreshing as a dip in Lake Taupo.
Hop Timing and Quantity: The Secret Sauce
One of the biggest debates in the homebrewing world is when to add hops during the brewing process. In a New Zealand IPA, timing is everything.
Add your hops too early, leaving you with a bitter, pungent brew that tastes like you’ve been chewing on a pine tree. Add them too late, and you might as well have brewed a lager.
My advice? Use a technique called hop bursting. This involves adding most of your hops later in the boil, allowing the flavors and aromas to shine without contributing too much bitterness. A few ounces of hops can go a long way with this technique.
Balancing Act: Malt Sweetness and Hop Bitterness
Like a well-choreographed dance, a good New Zealand IPA requires balance. The sweetness from the malt needs to complement the bitterness of the hops, not compete with it.
Choose a base malt with enough body and sweetness to stand up to those punchy hops. A combination of pale malt and a touch of caramel or Munich malt works well. You could also use something like wheat malt or white wheat malt to add body.
Yeast, Water, and Fermentation: The Unsung Heroes
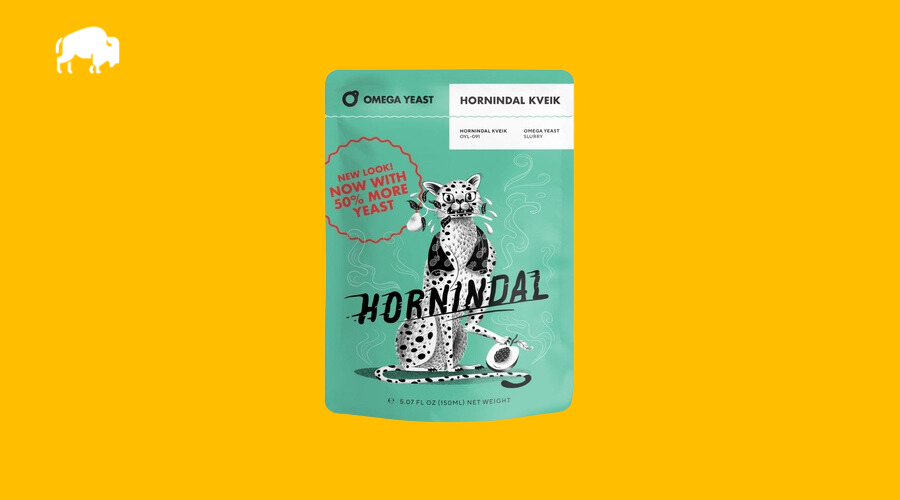
Choosing the right yeast strain for your New Zealand IPA is crucial. A clean ale yeast like Wyeast 1056 or Fermentis US-05 will let the hops take center stage. I always like experimenting with Kveik yeast strains on my hoppy beers.
When it comes to water, the right profile can enhance the hop character. Aim for a sulfate-to-chloride ratio of around 2:1 to bring out the hop flavors.
And finally, the fermentation temperature. This can make or break your brew. Too hot, and you’ll end up with a fruity mess. Too cold, and the flavors won’t fully develop. Aim for a fermentation temperature around 65-68°F (65F is the sweet spot for me but YMMV).
Brewing a New Zealand IPA isn’t just a science; it’s an art. It requires precision, patience, and a healthy dose of creativity. But trust me, when you’re sipping on that perfectly balanced, hop-forward brew, it’s all worth it.
Remember, at bisonbrew.com, we’re not just about brewing beer. We’re about brewing the best beer. So get out there, fellow yeast geeks, and brew something unique!
Hoppily Ever After – A New Zealand IPA Recipe
Before we jump into this frothy adventure of brewing the perfect New Zealand IPA, let’s first get acquainted with the basics. Here’s a table showcasing the standard parameters for this hoppy delight!
The Brewprint for a 5-Gallon Hoppily Ever After
Before we roll up our sleeves, let’s review what you’ll need to brew this golden beauty.
| Batch Size | OG | FG | IBU | SRM | ABV |
| 5.5 Gallons | 1.059 | 1.008 | 57 | 9 | 6.0% |
Fermentables
| Amount | Malt | PPG | °L | % |
| 12 lbs | Great Western Pale Ale Malt | 37 | 3 | 88.9% |
| 1.0 lb | Briess Munich Malt | 35 | 10 | 7.4% |
| 0.5 lb | Great Western Caramel Steam | 34 | 35 | 3.7% |
* For extract brewers, use 6.5 pounds of light dry malt extract and steep the Munich and Crystal malts.
Hops
| Amount | Variety | AA | Use | Time | IBU |
|---|---|---|---|---|---|
| 20 g | Pacific Jade | 13.0% | First Wort | – | 33 |
| 28 g | Nelson Sauvin | 12.0% | Boil | 15 min | 19.2 |
| 28 g | Motueka | 7% | Boil | 5 min | 4.5 |
| 84 g | Riwaka | 5.3 | Dry Hop | 3 Days | – |
Yeast
Use a healthy starter of Wyeast 1056 American Ale.
Water
Use RO, carbon-filtered, or distilled water. Aim for the following water profile, making adjustments with calcium chloride and calcium sulfate:
- Sulfates – 100 ppm
- Chloride – 200 ppm
- Calcium – 20 ppm
- Magnesium – 20 ppm
- Mash pH – 5.2
Brewing Procedure: From Mash to Magic
Now, on to the part where we turn these humble ingredients into liquid gold. Here’s a step-by-step guide to help you through:
The Mash: Start by mashing your grains at 152°F for 60 minutes. This is the perfect temperature to release those sugars – not to mention, it’s the perfect time to crack open a beer (just don’t confuse it with your mash water).
The Boil:
- After the mash, proceed to boil for 60 minutes.
- Add your Pacific Jade hops at the beginning of the boil for a first wort hop.
- With 15 minutes left, throw in your Nelson Sauvin hops, followed by Motueka hops at the 5-minute mark.
- Remember, timing is everything in hop additions – it’s like a choreographed dance but with hops.
Fermentation:
- Cool your wort to about 65°F before pitching your yeast.
- Let it ferment until the gravity is stable for 3 consecutive days.
- Patience is key here, folks. Good beer comes to those who wait.
Dry Hopping:
- It’s time for dry hopping after the primary fermentation.
- Add the Riwaka hops and let them sit for 3 days before pulling them.
- This step will give your brew that signature, punchy hop aroma.
Bottling or Kegging:
- It’s time to bottle or keg your brew.
- If you’re bottling, add priming sugar.
- If kegging, set your PSI to about 12-14 for perfect carbonation.
And there you have it, folks! The recipe for your very own 5-gallon batch of Hoppily Ever After. Remember, brewing is half science, half art, and all fun. So, don your brewer’s hat, embrace the hop madness, and let’s get brewing!
Final Thoughts
Here’s the deal, fellow brew-geeks: there’s no one-size-fits-all for brewing. The beauty lies in experimentation. So, feel free to try different New Zealand hops and recipes. You can blend Nelson Sauvin and Rakau for a fruit-forward IPA. Or perhaps a Waimea and Pacific Jade combination for a citrusy punch. The possibilities are as endless as your creativity.
Ultimately, brewing a New Zealand IPA is an exciting journey down the hoppy lane. It’s about embracing the unique characteristics of these hops and experimenting until you find your perfect brew. So, prepare your brewing gear, say cheers to creativity, and let the Kiwi hops work their magic.